jmeter-serverの設定に戸惑ったので
メモメモ
前提
Apache Jmeterのインストール
以下のサイトより最新版をダウンロード、任意の場所に解凍。

Apache JMeter
-
Download Apache JMeter
jmeter.apache.org
Javaのインストール
JDK1.8以降をインストールしておく。
サーバ側設定
jmeter-serverの編集
apache-jmeter-5.3\bin\jmeter-server
<変更前>
#RMI_HOST_DEF=-Djava.rmi.server.hostname=xxx.xxx.xxx.xxx
<変更後>
RMI_HOST_DEF=-Djava.rmi.server.hostname=[自身のPCのIPアドレス]
<2020/11/17追記>
自動的に自身のIPアドレスを取得して設定するようなスクリプトにしました。
EC2でクローンするときや、IPアドレスを後で変更したりする場合に役立ちます。
以下のスクリプトではeth0を取得していますが、待ち受けるIPのethを各自指定してください。
#!/bin/sh

##   Licensed to the Apache Software Foundation (ASF) under one or more
##   contributor license agreements.  See the NOTICE file distributed with
##   this work for additional information regarding copyright ownership.
##   The ASF licenses this file to You under the Apache License, Version 2.0
##   (the "License"); you may not use this file except in compliance with
##   the License.  You may obtain a copy of the License at
##
##       http://www.apache.org/licenses/LICENSE-2.0
##
##   Unless required by applicable law or agreed to in writing, software
##   distributed under the License is distributed on an "AS IS" BASIS,
##   WITHOUT WARRANTIES OR CONDITIONS OF ANY KIND, either express or implied.
##   See the License for the specific language governing permissions and
##   limitations under the License.

##   To change the RMI/Server port:
##
##   SERVER_PORT=1234 jmeter-server
##

DIRNAME=`dirname $0`
MYIP=`ip -f inet -o addr show eth0|cut -d\  -f 7 | cut -d/ -f 1`

# If the client fails with:
# ERROR - jmeter.engine.ClientJMeterEngine: java.rmi.ConnectException: Connection refused to host: 127.0.0.1
# then it may be due to the server host returning 127.0.0.1 as its address

# One way to fix this is to define RMI_HOST_DEF below
RMI_HOST_DEF=-Djava.rmi.server.hostname=${MYIP}

${DIRNAME}/jmeter ${RMI_HOST_DEF} -Dserver_port=${SERVER_PORT:-1099} -s -j jmeter-server.log "$@"
jmeter.propertiesの編集
サーバを立ち上げるとこのままだとKEYを聞かれてめんどくさいのでDisableにする。
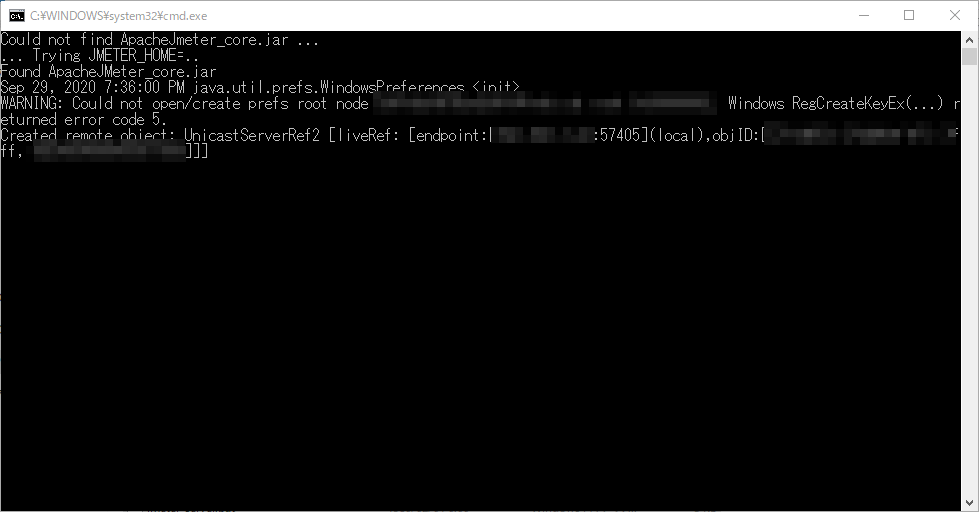
Server failed to start: java.rmi.server.ExportException: Listen failed on port: 0; nested exception is:
java.io.FileNotFoundException: rmi_keystore.jks (指定されたファイルが見つかりません。)
An error occurred: Listen failed on port: 0; nested exception is:
java.io.FileNotFoundException: rmi_keystore.jks (指定されたファイルが見つかりません。)
グローバル経由で操作する場合はセキュリティのためにちゃんと設定したほうが良いかも。
なお、設定方法は知らない
apache-jmeter-5.3\bin\jmeter.properties
<変更前>
#Set this if you don't want to use SSL for RMI
#server.rmi.ssl.disable=false
<変更後>
#Set this if you don't want to use SSL for RMI
server.rmi.ssl.disable=true
これで取り合えずエラーは消える・・・・
jmeter-server.batの起動
apache-jmeter-5.3\bin\jmeter-server.bat
を実行する。
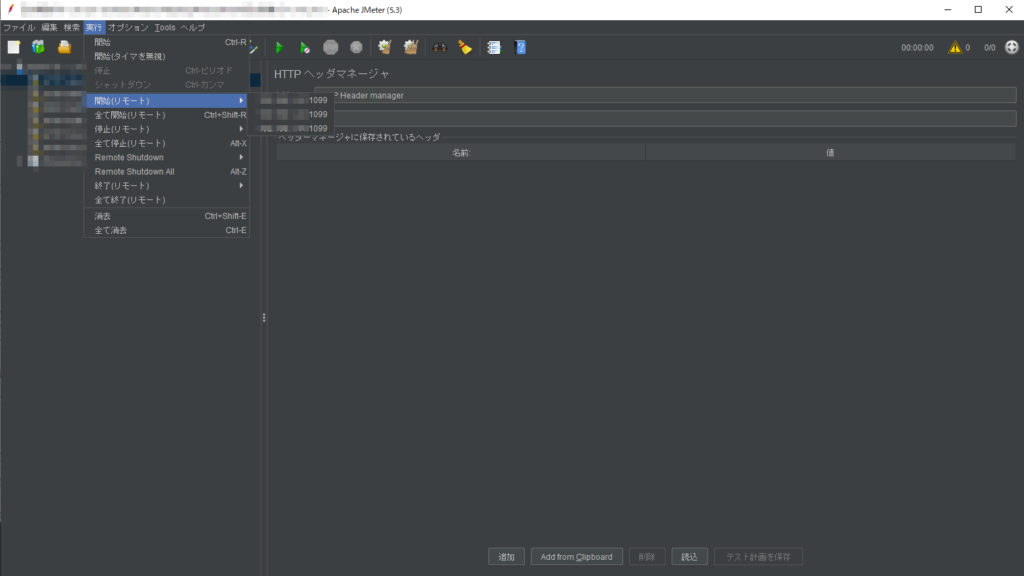
こんな感じでcmdが立ち上がるのでそのままにしておく。
クライアント側設定
jmeter.propertiesの編集
上記で用意したサーバの情報を設定する。
<変更前>
#Remote Hosts - comma delimited
#remote_hosts=127.0.0.1
<変更後>
#Remote Hosts - comma delimited
remote_hosts=[サーバのIPアドレス(1)]:1099,[サーバのIPアドレス(2)]:1099,[サーバのIPアドレス(3)]:1099
サーバ側の待ち受けポートはデフォルトでは1099らしい。
変更の仕方は知らない
あとは、上記でも設定したKEYのDisableもやっておく。
リモート実行
クライアント側でJmeterをGUI実行
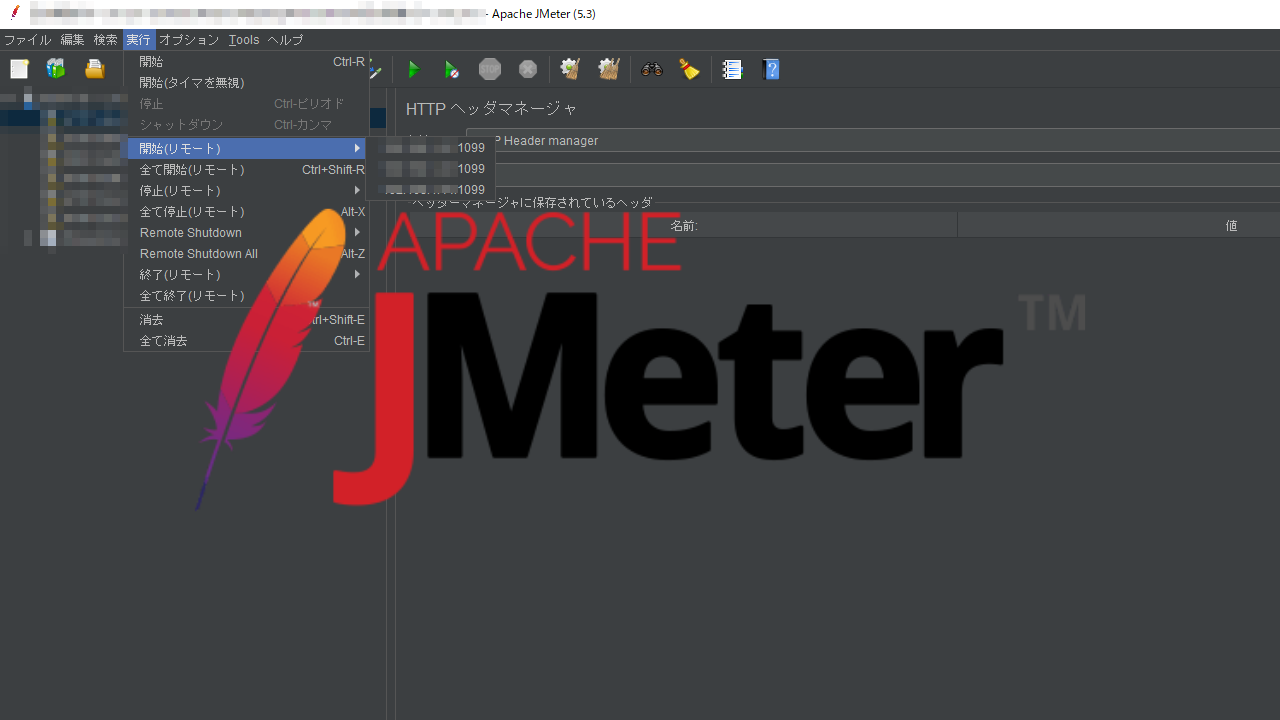
[実行]→[開始(リモート)]の部分に、設定したサーバのIPアドレスが表示されればOK!
Jmeter-Server全台を使って試験したい場合は
[実行]→[全て開始(リモート)]を実行すればよい。


コメント